Mastering Your Workflow with Tumbler Wrap Templates and Bundle PNG Files
In the world of custom drinkware, efficiency and precision are the dividing lines between a hobbyist dabbling and a professional scaling their output. Whether you are running an Etsy shop, fulfilling bulk orders for a corporate event, or simply personalizing gifts for friends, the production process can quickly become a bottleneck. This is where the strategic use of Tumbler Wrap Templates and high-quality Tumbler Bundle PNG Files transforms your workflow. These assets are not just digital files; they are the structural foundation of a streamlined manufacturing process, ensuring that your designs adhere perfectly to the curvature of the tumbler while minimizing material waste.
Understanding how to integrate these templates into your daily operations requires more than just knowing how to click "print." It involves a holistic approach to design preparation, material selection, and quality control. By mastering the interaction between your digital design software and the physical application process, you can produce consistent, professional-grade decals for tumblers, vehicle mods, windows, and other surfaces using permanent adhesive vinyl.
The Anatomy of a Tumbler Wrap Template
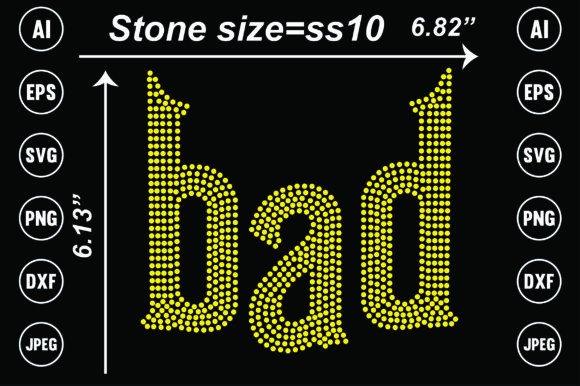
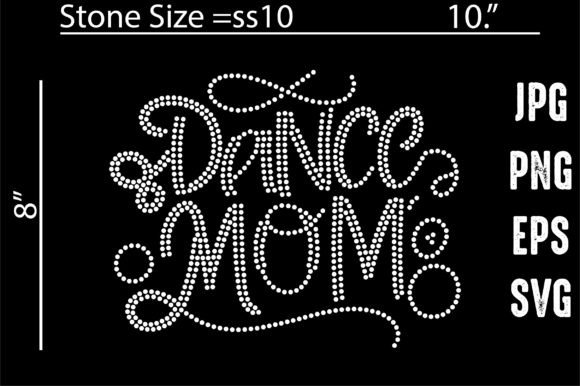
Before diving into the production line, it is essential to understand what a Tumbler Wrap Template actually represents. Unlike a simple flat image, a wrap template is a mapped-out grid designed to account for the taper and circumference of a specific vessel. Standard tumblers—such as the popular 20oz skinny tumbler or the 30oz straight-walled options—have distinct dimensions. A template provides the exact canvas size required to ensure the graphic wraps seamlessly without overlapping or leaving a gap.
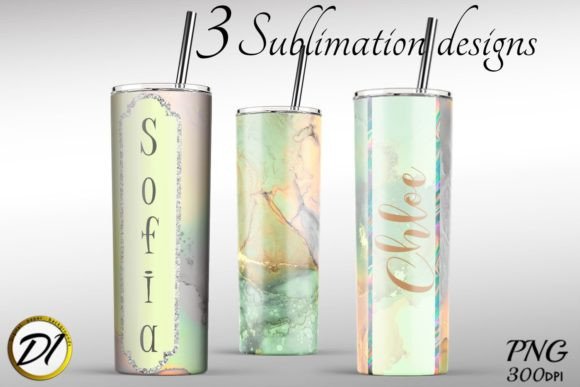
When you acquire a Tumbler Bundle PNG File, you are usually purchasing a collection of pre-designed graphics optimized for these specific dimensions. The PNG (Portable Network Graphics) format is crucial here because it supports transparency. This allows the design to be applied over any color tumbler without a white background interfering with the aesthetics. The interaction between the template and the PNG file is where the workflow begins: the PNG acts as the content, and the template acts as the container.
Preparation and File Management
Organization is the first step in a professional workflow. Before opening your design software (such as Adobe Photoshop, Illustrator, or Procreate), establish a robust file management system. Create a master folder for "Tumbler Production" and sub-categorize by template size. For instance, you might have folders for "20oz Skinny," "16oz Glass," and "Wine Tumblers." Inside these, keep your blank templates separate from your design assets.
When working with a Tumbler Bundle PNG File, avoid the temptation to use the files directly from the download zip without backing them up. Create a "Working Files" folder where you copy the PNGs you intend to use. This preserves the original bundle integrity. Furthermore, naming conventions matter. Rename your files to reflect the design and the date (e.g., "Floral_Burst_20oz_Skinny_2023") so that six months later, you can identify the asset without opening it.
Integrating Templates into the Design Process
The true value of a template emerges during the design phase. If you are creating your own graphics from scratch, placing your Tumbler Wrap Template as the bottom layer in your software acts as a "clipping mask" or boundary. This prevents you from designing outside the printable area, a common error that leads to wasted vinyl and ink.
For those using a Tumbler Bundle PNG File, the workflow is slightly different but equally reliant on the template. You will import the PNG file and place it over the template layer. Here, you must check for bleed. A "bleed" is the area of the design that extends slightly beyond the cut line to ensure no white edges appear if the cut is slightly off. Many high-quality templates include bleed lines, often marked in red or blue. Ensure your design fills this bleed area.
Software Specifics: Vector vs. Raster
The choice of software dictates how you handle these files. If you are working with permanent adhesive vinyl for decals, you are likely using a vector-based workflow in Adobe Illustrator or the Silhouette Studio/Cricut Design Space software. In this context, the template serves as the cut guide. You import the PNG, trace it to create vector cut lines (if necessary for contour cutting), and align it with the template.
If you are using a sublimation printer or a UV printer for direct-to-film transfers, you are working in a raster environment like Photoshop. Here, the template is set to the exact resolution of your printer (usually 300 DPI). You place the Tumbler Bundle PNG File onto the canvas, resize it to fit the template, and flatten the image for printing. The template ensures that when the print comes out of the printer, it is the exact length and width needed to wrap the physical object.
Material Selection: Permanent Adhesive Vinyl
The application of these designs often relies on permanent adhesive vinyl. This material is the industry standard for items that will be exposed to moisture, handling, and temperature changes, such as vehicle mods, window decals, and, most importantly, drinkware. Unlike removable vinyl, permanent vinyl utilizes a stronger adhesive that bonds with the surface over time.
When selecting vinyl to pair with your Tumbler Wrap Templates, consider the finish. Matte, gloss, and satin finishes interact differently with light and surface textures. For vehicle windows or mods, high-performance cast vinyl is preferred for its durability against UV rays and weather. For tumblers, standard 651 or 751 series vinyl is sufficient. The template workflow helps here because it allows you to calculate exactly how much linear footage of vinyl you need per unit. By knowing the dimensions from the template, you can nest your designs on the vinyl roll to minimize scrap material.
Execution: The Physical Workflow
Once the design is prepared using the Tumbler Wrap Template and printed or cut, the physical execution begins. This is where the digital planning pays off.
Step 1: Surface Preparation
Before applying the vinyl, the surface must be immaculate. For tumblers, this means wiping them down with Isopropyl Alcohol (IPA) to remove oils and dust. For windows or vehicle body panels, a clay bar treatment and IPA wipe are recommended. The strongest adhesive will fail if applied over a layer of grease or wax.
Step 2: Application Fluid vs. Dry Application
There are two main methods for applying decals: dry and wet. A dry application is faster but less forgiving; once the vinyl touches the surface, it sticks. A wet application involves spraying the surface (and the adhesive side of the vinyl) with a mixture of water and a drop of dish soap. This allows you to float the decal into position, squeegee out the water, and let the adhesive cure.
For curved surfaces like tumblers, a wet application is often preferred when using the decal as a full wrap. However, when applying decals to windows or flat vehicle mods, dry application is standard to prevent the adhesive from being diluted by moisture trapped underneath.
Step 3: The Squeegee Technique
Using a felt-edged squeegee is critical. Start from the center of the design and push outward toward the edges. This removes air bubbles and ensures the vinyl makes full contact with the substrate. If you are wrapping a tumbler, work in small sections, heating the vinyl slightly with a heat gun to make it pliable as it stretches over curves. The Tumbler Wrap Template ensures your design is sized correctly so you don't run out of graphic before you finish the wrap.
Quality Control and Consistency
In a professional setting, consistency is the currency of trust. If you are producing 50 tumblers for a wedding party or 100 decals for a local business fleet, every single item must look identical. The Tumbler Bundle PNG File and template system are your quality control mechanisms.
By standardizing the digital file, you standardize the physical output. There is no guessing about how much to trim or where the design should sit relative to the rim of the cup. The template dictates the placement. This eliminates the "eyeballing" method, which is the primary cause of uneven decals.
Troubleshooting Common Issues
Even with perfect templates, issues arise. If the vinyl is lifting after application, it is often a surface prep issue or an adhesive failure due to cold temperatures. If the design looks distorted on the tumbler, check your template dimensions against the actual physical product. Manufacturers occasionally alter mold dimensions slightly; a caliper can be used to measure the circumference of your physical stock and compare it to your digital template. Adjusting the template by a few millimeters can save a whole batch of products.
Beyond Tumblers: Versatility of the Bundle
While the focus is often on drinkware, the Tumbler Bundle PNG File collection offers versatility for other projects. Because these files are high-resolution PNGs, they can be repurposed for:
- Vehicle Mods: Scaling down a wrap design to create a side panel graphic or hood ornament for cars and trucks.
- Window Decals: Using the transparent background of the PNG to create storefront window clings or home decor stickers.
- Signage: Printing the designs on rigid substrates like coroplast or PVC for outdoor signs.
The workflow remains the same: import the PNG, scale it to the new template (whether a car door or a window pane), and prepare for cutting or printing.
Long-Term Use and Archiving
Finally, treat your templates and files as business assets. As you build a library of Tumbler Wrap Templates, you build a library of capabilities. Regularly back up your "Master Template" folder to a cloud service or an external hard drive. If a client requests a reorder six months later, you want to be able to pull up the exact file, adjust the quantity, and send it to the printer without having to redesign the wheel.
By integrating Tumbler Wrap Templates and Tumbler Bundle PNG Files into a structured workflow, you move from chaotic crafting to organized manufacturing. You reduce waste, ensure quality, and open up new possibilities for where your designs can live, from the side of a tumbler to the window of a vehicle. This is the practical application of digital design in the physical world.