Expect Rhinestone Templates Design: A Creator's Guide to Flawless Sparkle and Avoiding Costly Errors
There's a special kind of magic in adding a bit of sparkle to a project. Whether you're customizing a t-shirt for a bachelorette party, creating a dazzling mug for a birthday, or adding a unique touch to a cushion for your Etsy shop, rhinestones offer a level of personalization and glamour that's hard to beat. The foundation of any great rhinestone project is the template, and the Expect Rhinestone Templates Design is a popular choice for creators looking for instant, high-quality results. But even with a fantastic design file, the path from a digital download to a professionally finished product is filled with potential pitfalls. Understanding how to navigate these challenges is what separates a frustrating craft session from a stunning success.
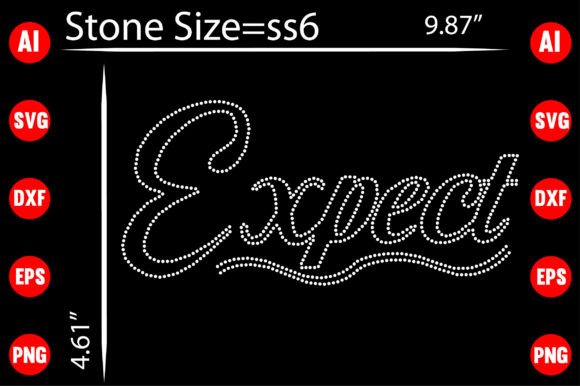
What Exactly is the Expect Rhinestone Templates Design?
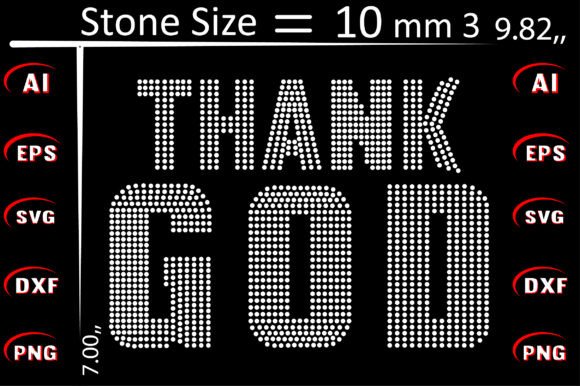
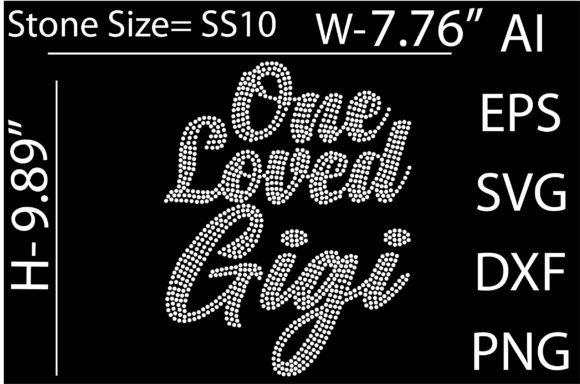
At its core, the Expect Rhinestone Templates Design is a digital blueprint for creating a rhinestone pattern. When you purchase it as an instant download, you receive a ZIP folder containing a versatile suite of files: Ai, EPS, SVG, DXF, Transparent PNG, and Jpeg. Each file serves a specific purpose, catering to different software and machines. The AI and EPS files are for professionals using Adobe Illustrator or CorelDRAW, allowing for complete scalability and editing. The SVG and DXF files are the workhorses for most hobbyists and small business owners, as they are compatible with popular electronic cutting machines like Cricut and Silhouette. Finally, the high-resolution PNG and Jpeg files are perfect for print-and-cut projects or for those who need a simple, high-quality image file.
The appeal is clear: it's a comprehensive, editable package designed for a wide range of applications, from apparel to promotional items. However, this versatility is also where many first-time users encounter trouble. The very flexibility of the files means you need to make the right choices from the start.
The First Hurdle: Choosing the Wrong File for Your Machine and Software
One of the most common and frustrating mistakes is grabbing the wrong file from the downloaded folder. You're excited to get started, you load up your Silhouette Studio software, and you click on the first file that looks right—perhaps the AI file. The software either won't open it or it imports as a jumbled, unusable mess. This isn't a flaw in the design; it's a mismatch between the file type and your software's capabilities.
Think of it like trying to put diesel fuel in a gasoline car. Both are fuels, but they aren't interchangeable. Silhouette Studio Basic Edition works best with DXF files. Cricut Design Space is optimized for SVG files. If you're using professional vector software like Adobe Illustrator, the AI or EPS files are your best bet for maximum control. Using the wrong file type leads to wasted time, confusion, and the incorrect assumption that the template itself is low quality.
A Better Approach: A Quick Pre-Project Check
Before you even think about cutting material, take two minutes to do this:
- Identify Your Software: Are you using Cricut Design Space, Silhouette Studio (and which edition?), or a professional program like Adobe Illustrator?
- Match the File: For Cricut, use the .SVG file. For Silhouette Studio (especially the basic edition), use the .DXF file. For Adobe Illustrator, use the .AI or .EPS file.
- Test with a Simple Shape: If you're unsure, import a simple circle or square from the template file first. This confirms the file type is compatible before you commit to the main design.
Overlooking the "Editable" Promise: Why It Matters More Than You Think
The description says the file is "editable," but many users treat it as a fixed image. They upload it, resize it to fit their project, and hit "cut." The problem arises when the text or intricate details become too small for the rhinestones to look clean, or too large that the design loses its intended shape. A common issue is text becoming an unreadable blob because the letters weren't designed to be filled with standard 3mm or 4mm rhinestones at a reduced scale.
The true power of an editable vector file (like SVG, AI, or EPS) is the ability to adjust individual elements. You can ungroup the design, move components around, or even delete parts you don't need. You can scale the entire design proportionally, ensuring that every line and curve is optimized for the rhinestone size you're using. Ignoring this is like buying a high-performance sports car and only ever driving it in first gear.
A Practical Solution: The Two-Step Adjustment
- Ungroup and Inspect: After importing your chosen file, use the "ungroup" function in your software. This separates the design into its individual parts, allowing you to see how it's constructed.
- Test Scale with Rhinestone Size in Mind: A good rule of thumb is that the thinnest part of a line or letter in your design should be at least the width of one rhinestone. If you're using 4mm SS10 rhinestones, ensure no letter stroke is narrower than 4mm in your final cut size. Adjust the overall scale until the details are crisp and manageable.
- File Format Verified: Am I using the SVG for Cricut or the DXF for Silhouette Studio Basic?
- Design Edited for Size: Have I scaled the design so details are appropriate for my rhinestone size?
- Test Cut Done: Did I verify the spacing works with my specific stones and material?
- Material Settings Checked: Are my blade depth, pressure, and speed settings correct for the material I'm cutting (e.g., stencil material, flock)?
- Mirror Image Applied? If I'm using heat transfer vinyl (HTV) for my template, did I remember to mirror the design in the software before cutting?
The Material Mismatch: Template vs. Rhinestone Type
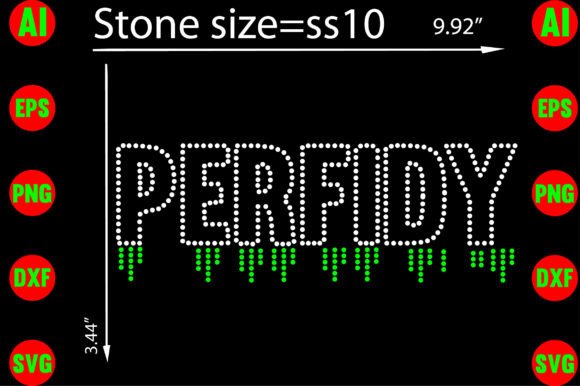
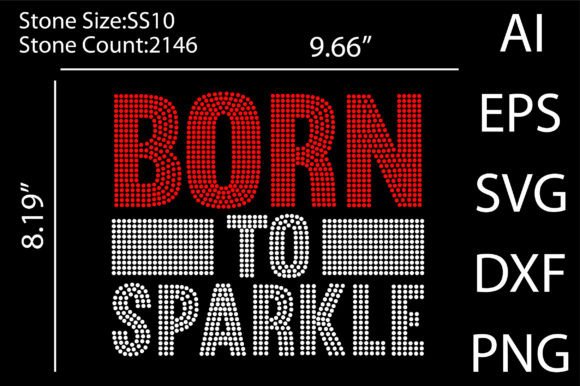
This is a subtle but critical detail. Not all rhinestones are created equal. The Expect Rhinestone Templates Design is likely optimized for standard hotfix or no-hotfix rhinestones (like SS10). However, if you're using a different type—such as flatback crystals with different faceting, or even rhinestuds—the hole spacing in the template might not be a perfect fit.
Using a template designed for 4mm stones with 3mm stones will result in gaps and a sparse, unprofessional look. Conversely, trying to force 5mm stones into a 4mm template will cause overcrowding, leading to stones popping off or a lumpy, uneven surface. The result is wasted material, a ruined project, and a hit to your confidence.
The Smart Creator's Test
Never assume. Always perform a small-scale test cut on a scrap piece of your actual material (like a leftover piece of flocked heat transfer vinyl). Cut out just a small, detailed section of the design. Apply a few rhinestones to this test piece before committing to the entire project. This five-minute check can save you hours of frustration and the cost of a full sheet of rhinestones and material.
Final Checklist Before You Cut
Before you press that "Make It" button, run through this quick mental checklist to ensure a smooth process:
By approaching the Expect Rhinestone Templates Design not just as a file to be used, but as a versatile toolkit to be understood, you empower yourself to create projects that truly shine. It’s about moving from simply following instructions to making informed, creative decisions that reflect your unique vision and ensure a professional-quality finish every time. The sparkle is in the details—both in the design and in your process.